

Having been involved in my field of bones and implants for the past 3 years, it cultivates my innovation and skills in creating furniture/ tools that satisfied my creativity.
Here is the step-by-step instruction on doing a "retrograde interlocking nail"and "bipolar hemiarthroplasty" to create this lamp.
Step 1
Always make sure your have the correct fracture pattern, tools and implant before you proceed !
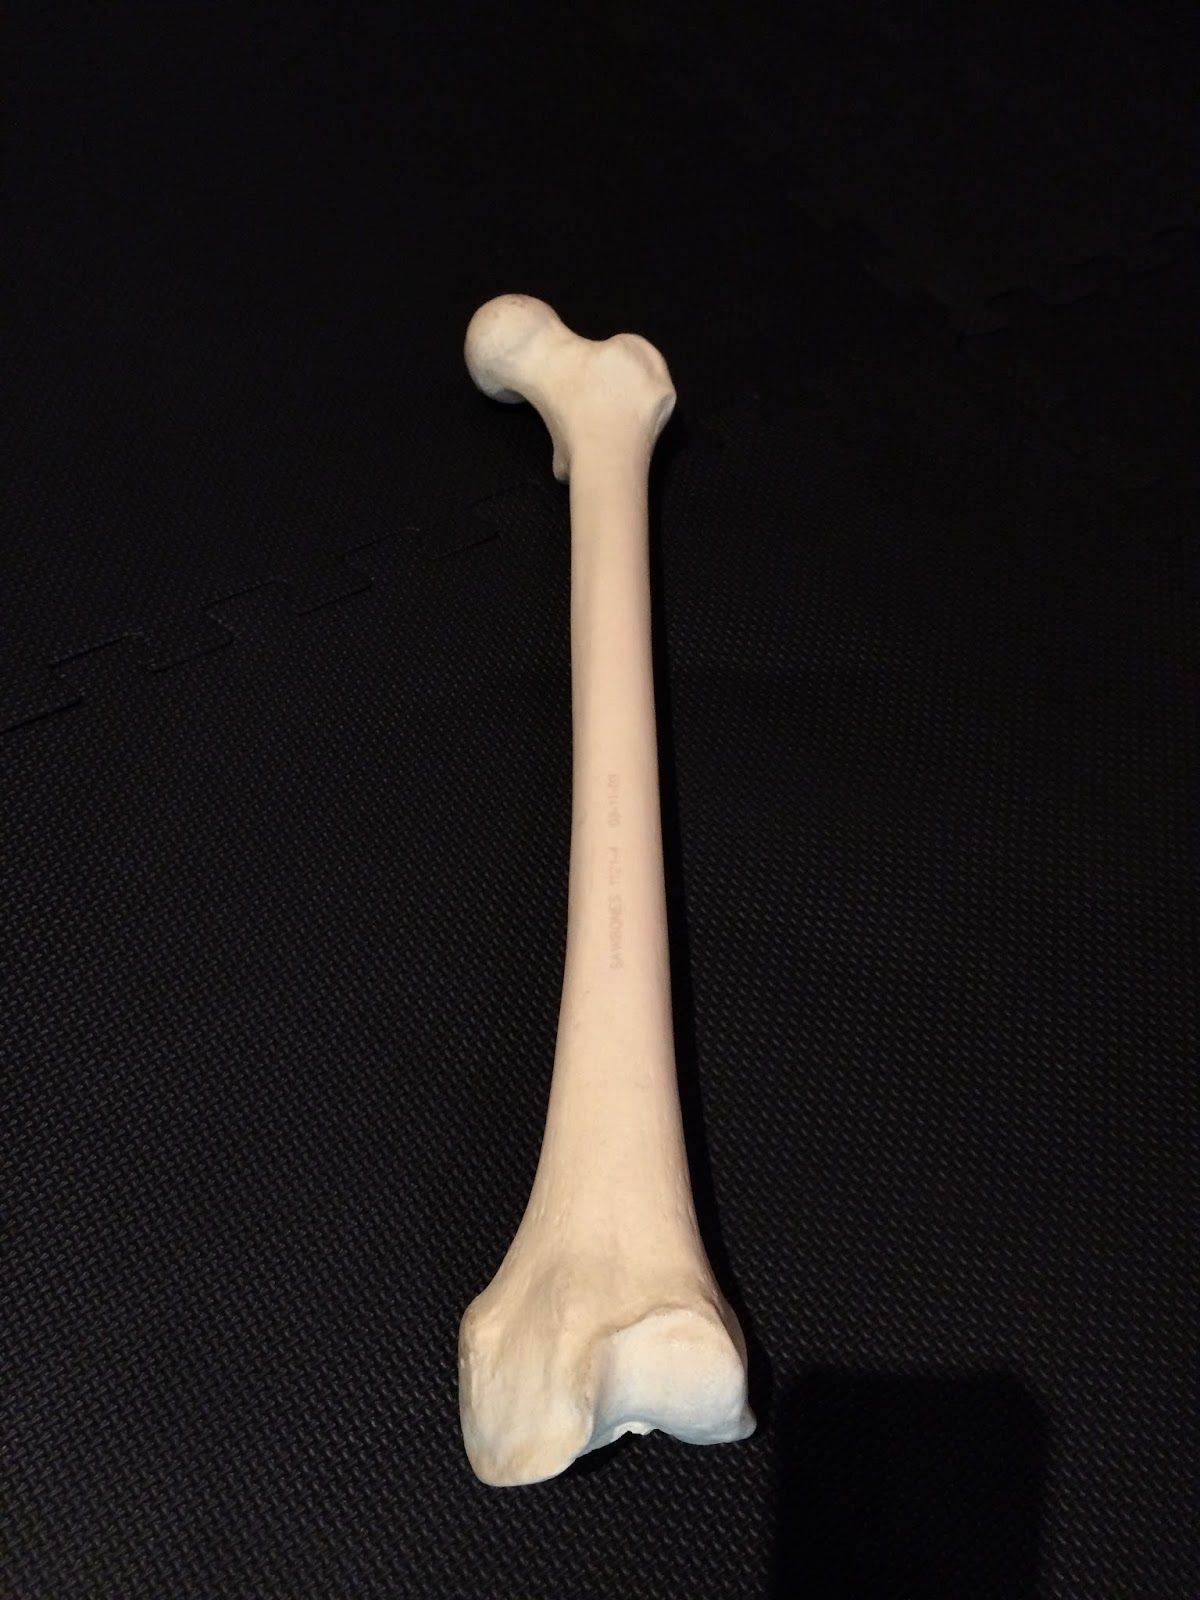
Femur saw bone x1 ( I've got mine after slaughtering my arch anemy; or u can buy it from implant rep)
IKEA Hemma lamp stand x1
Power drill x1
Power saw x1
Glue gun x1
Golden spray paint x1
LED lightbulb x1


Step 2
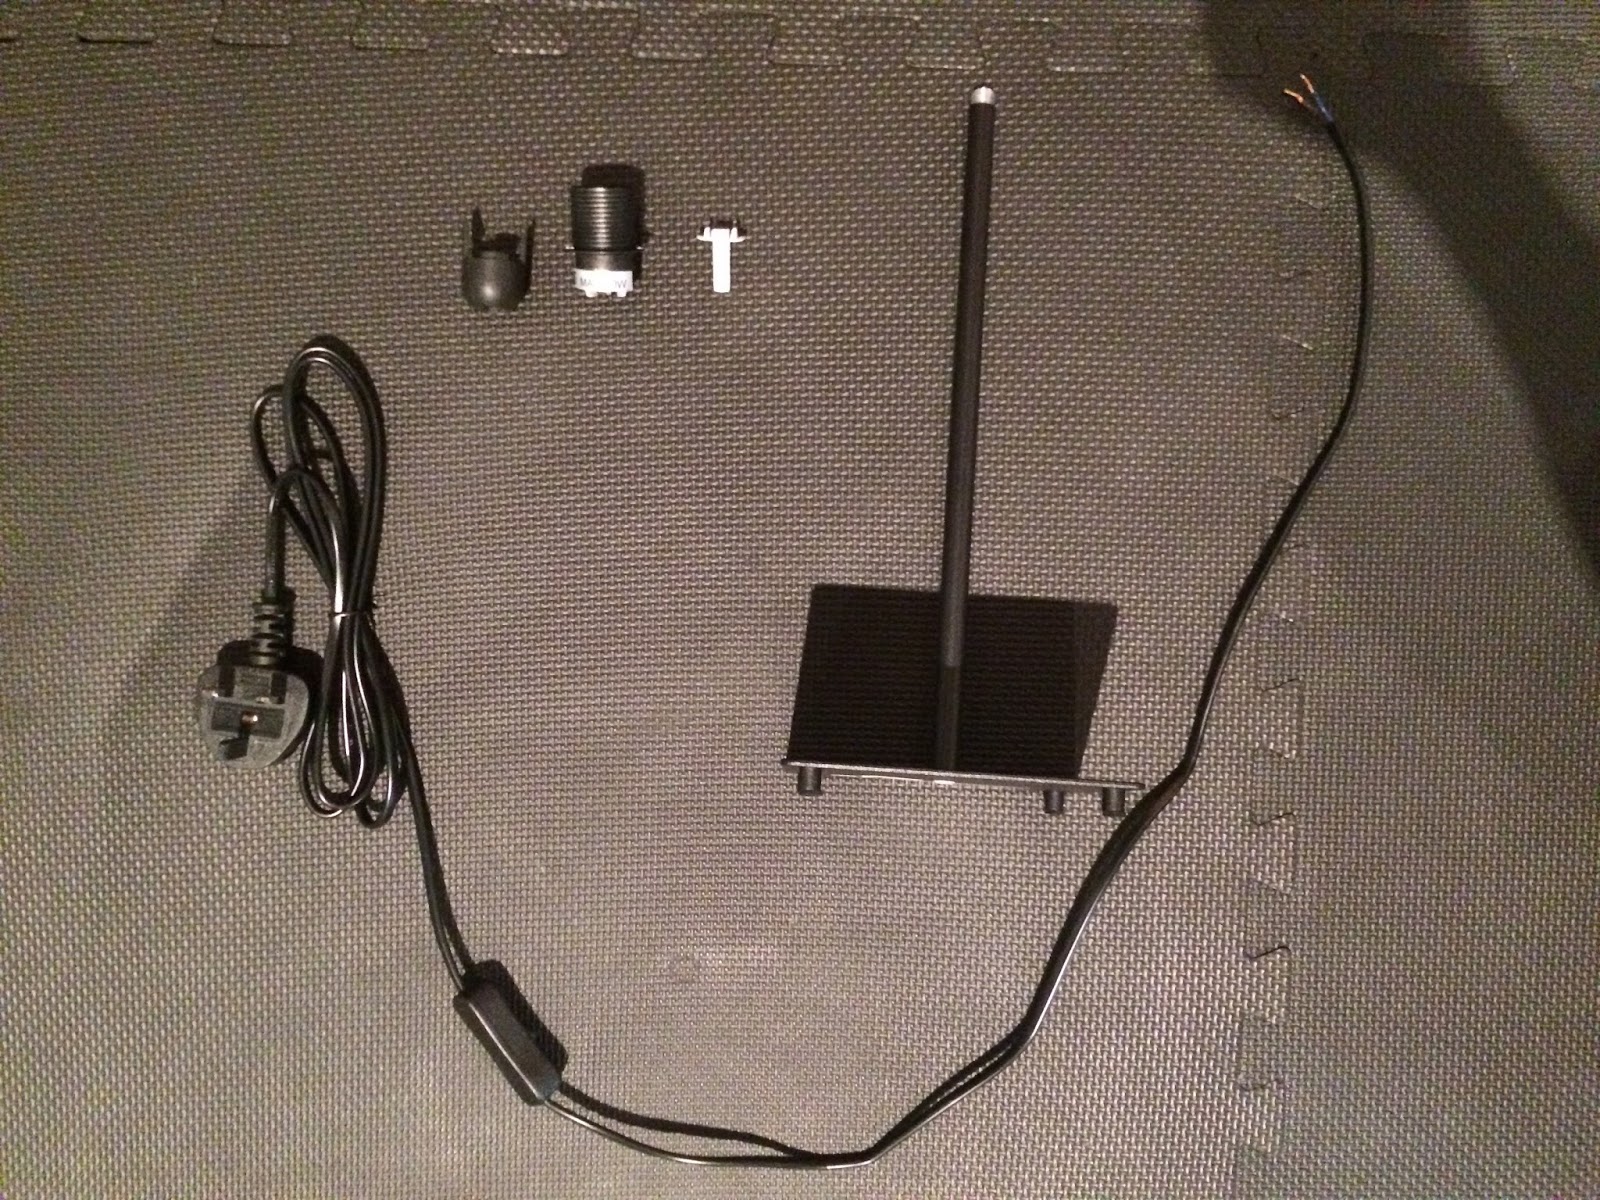
Dissemble the lamp stand using screw driver into 3 parts:
Socket, stem and base.


Step 3
Mark insertion site at the centre of intercondylar notch of femur using marker. Introduce size 8mm drill bit and drill through the intra-medullary canal with a power drill. Increase the size of drill bit by 1mm till you feel resistant/tightness. Make sure the alignment is parallel to the bone.
* Sail through the drill, DO NOT force!

Step 4
Insert the intra-medullary nail of the lamp stand through drilled hole. Attached the nail to the base. Make sure it is snuggly fit, enough for slight rotation.


Step 5
Now moving on to the " hip replacement"
Use the socket as templete, mark the depth of socket sitting in the intertrochanteric region. Next, mark the tip of socket shown below- that's how much u need to saw off the femoral head.


Step 6
Saw off the femoral head at 45' angle. Extend another hole through the intertrochanteric region, where the socket sits.
* take your time using a file, refashion the socket area where it can sit tight in its place.


Step 7
Pass the wire into the intra-medullary tube.


Power drill x1
Power saw x1
Glue gun x1
Golden spray paint x1
LED lightbulb x1


Step 2
Dissemble the lamp stand using screw driver into 3 parts:
Socket, stem and base.

Step 3
Mark insertion site at the centre of intercondylar notch of femur using marker. Introduce size 8mm drill bit and drill through the intra-medullary canal with a power drill. Increase the size of drill bit by 1mm till you feel resistant/tightness. Make sure the alignment is parallel to the bone.
* Sail through the drill, DO NOT force!

Step 4
Insert the intra-medullary nail of the lamp stand through drilled hole. Attached the nail to the base. Make sure it is snuggly fit, enough for slight rotation.


Step 5
Now moving on to the " hip replacement"
Use the socket as templete, mark the depth of socket sitting in the intertrochanteric region. Next, mark the tip of socket shown below- that's how much u need to saw off the femoral head.


Step 6
Saw off the femoral head at 45' angle. Extend another hole through the intertrochanteric region, where the socket sits.
* take your time using a file, refashion the socket area where it can sit tight in its place.

Step 7
Pass the wire into the intra-medullary tube.


Step 8
Reattach the wire to socket, hold the socket in place with hot glue.
* test the socket with lightbulb, making sure it is functioning before you glue.


Step 9
Attach the femur back its base. Apply lightbulb and test !
Let there be LIGHT!


Final step
Remove the lightbulb; Cover the base with masking tape and paper for protection. Spray paint the femur and socket with the color of your choice. I chose gold because it matches my living room, adding a luxurious feel the room.

Final product
Bipolar Arthroplasty Lamp


I had spent around 3-4 hours in labor.
Using it regularly as my night lamp for the living room.
The reaction that I get from my visitors are priceless haha
Most will ask as to where I get the femur from =) The secret of the bone shall not be revealed =P